
Craft: Edible Christmas Tree
I love making handmade presents for family and friends. It’s a great reminder that giving gifts doesn’t need to be a major expense during the silly season and sometimes it’s the thought and the effort that goes into the gift that people will really appreciate.
This edible Christmas tree made out of lollies is so easy to make so it’s perfect if you would like to get the kids involved too.
Items needed
- 1 wafer ice cream cone
- Green lollies. I used watermelon clouds that I found at the local lolly shop but you could also use green frogs or spearmint leaf lollies.
- Approximately 3 cups of pure icing sugar and a small amount of water to mix into a paste
- Plate or cake board
- 1 Piping bag or zip lock bag
- Scissors
- Coloured or silver sugar pearls (found in the cake section at your local supermarket)
- Clear cellophane
- Coloured ribbon or bow
- Sticky tape
Method
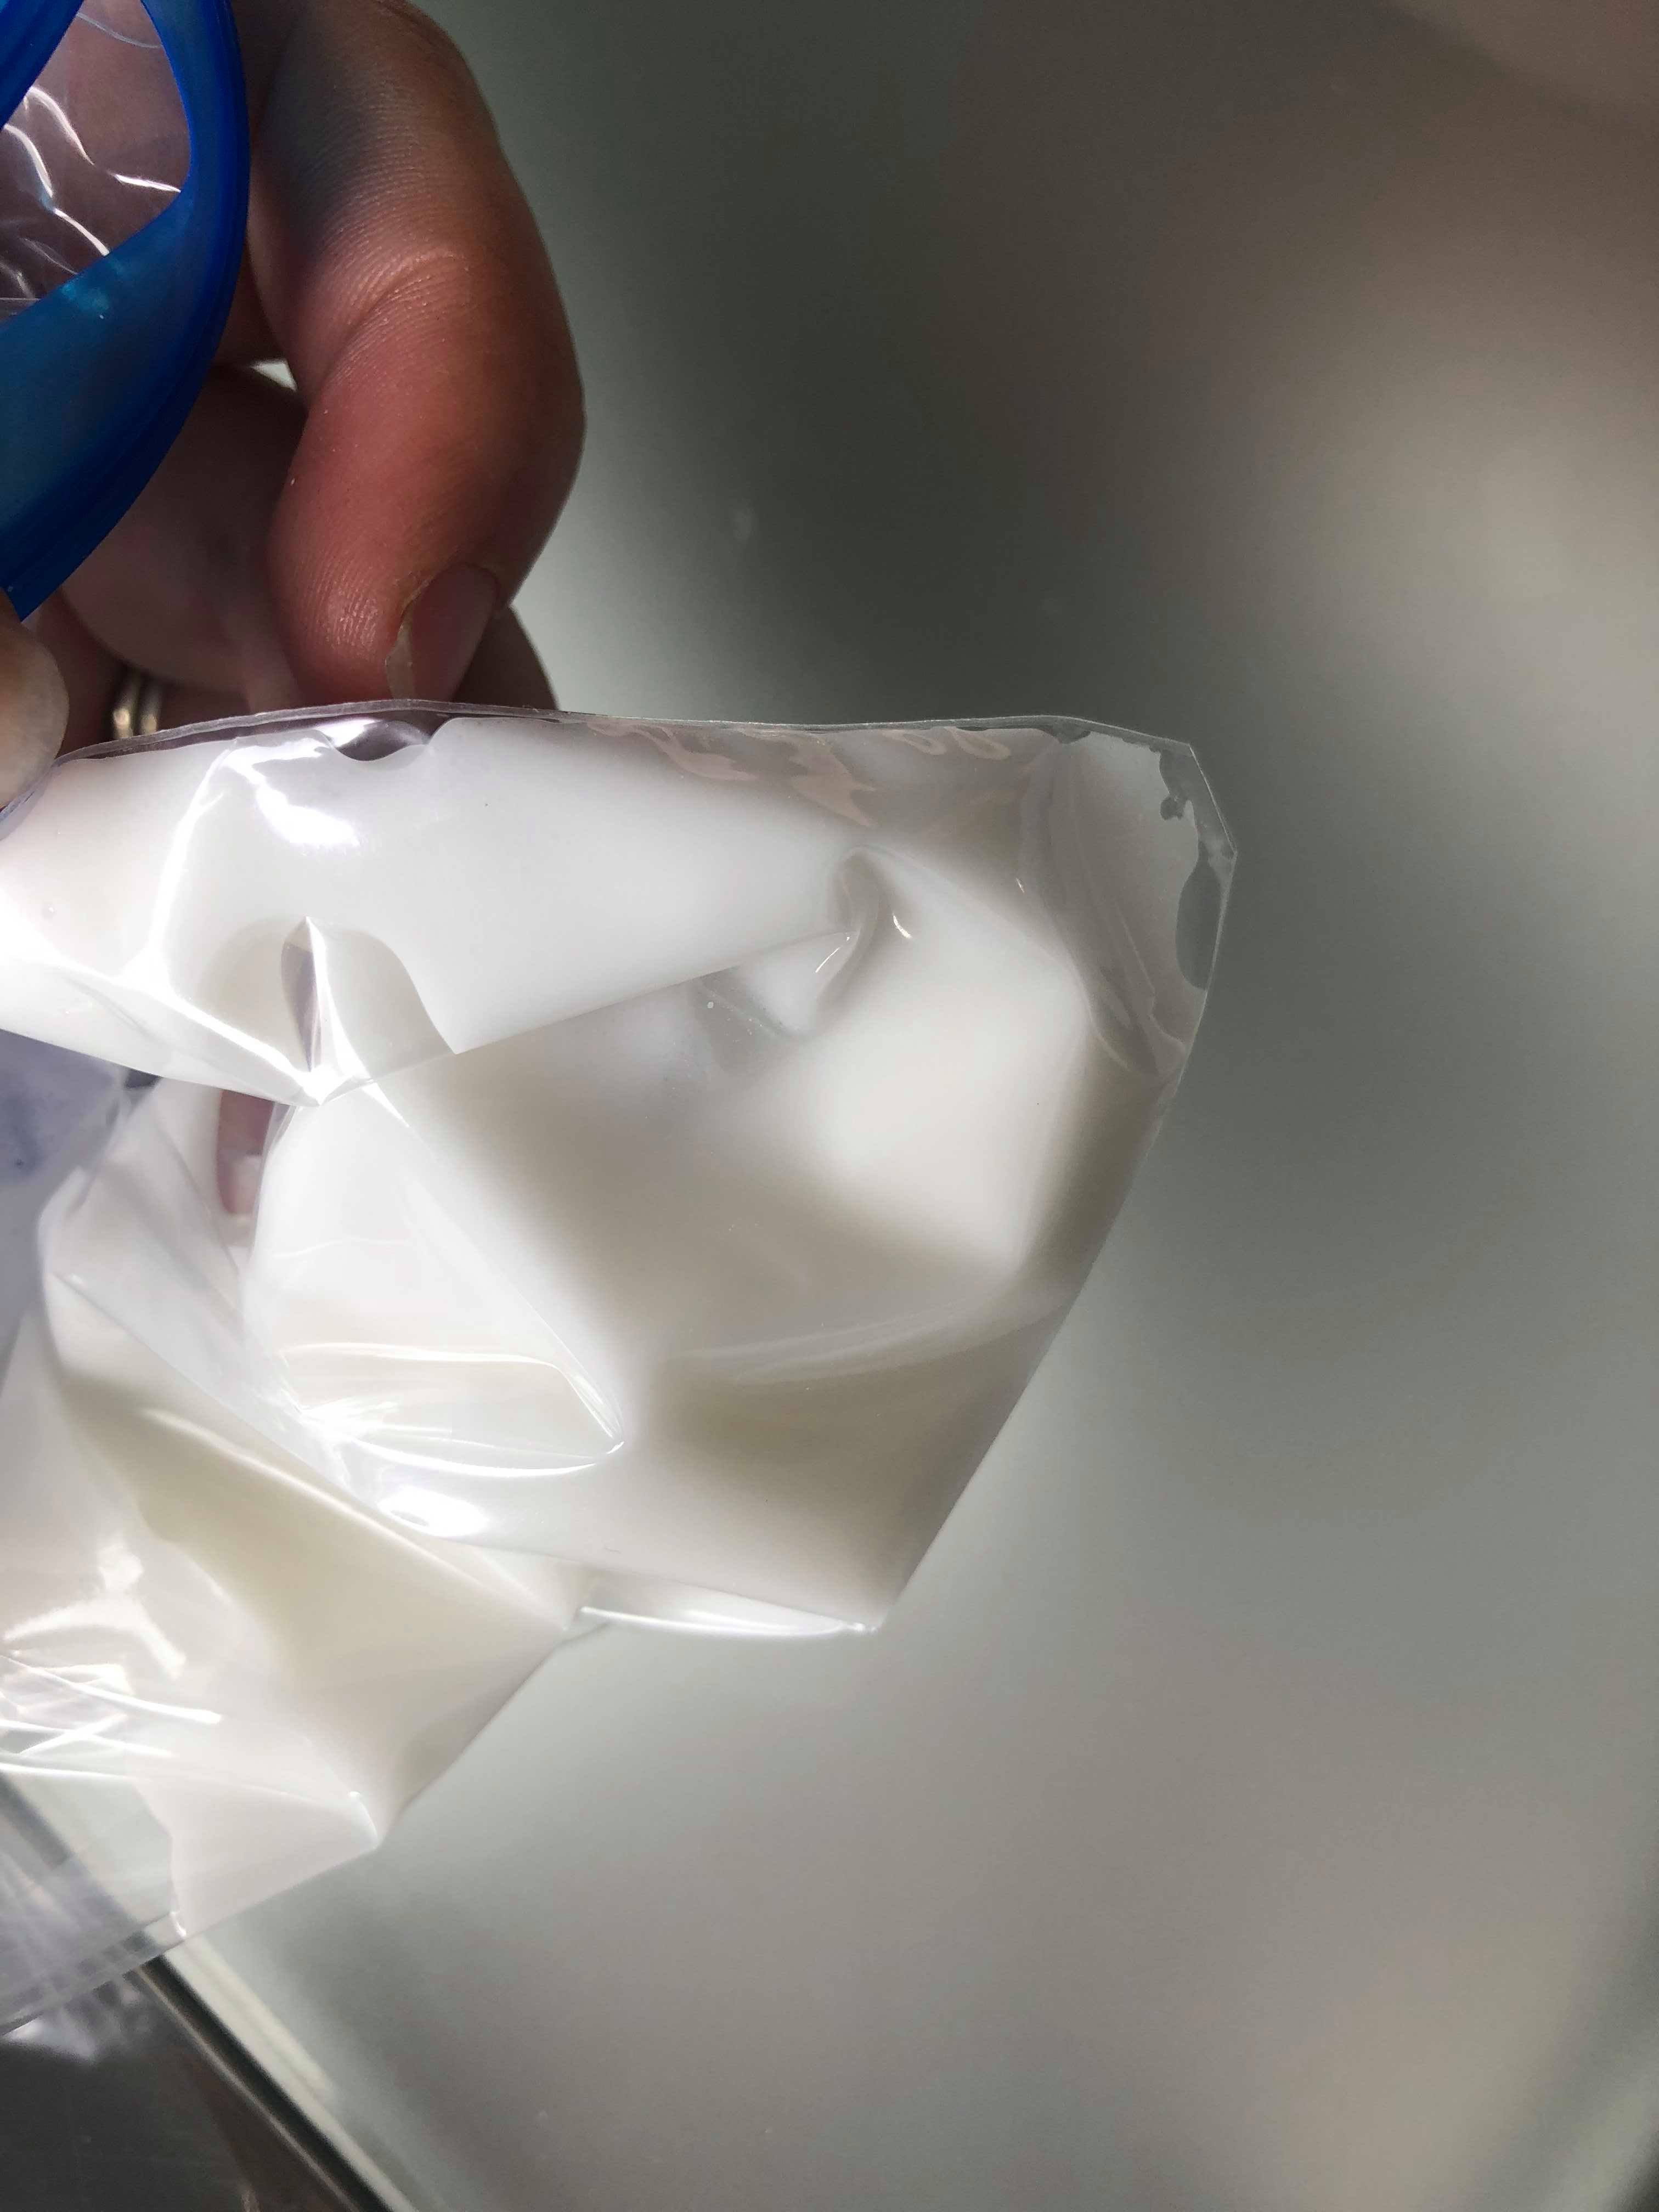
- Mix the icing sugar with a small amount of water to make a paste. The thicker the better so your lollies will stick to it, but make sure it’s still very slightly runny so you can still pipe it through your piping bag.

2. Pour the icing mixture into a piping bag or a ziplock bag. If you are using the zip lock bag, use your scissors to cut a small corner off the bottom of the bag to allow the icing sugar to flow through.
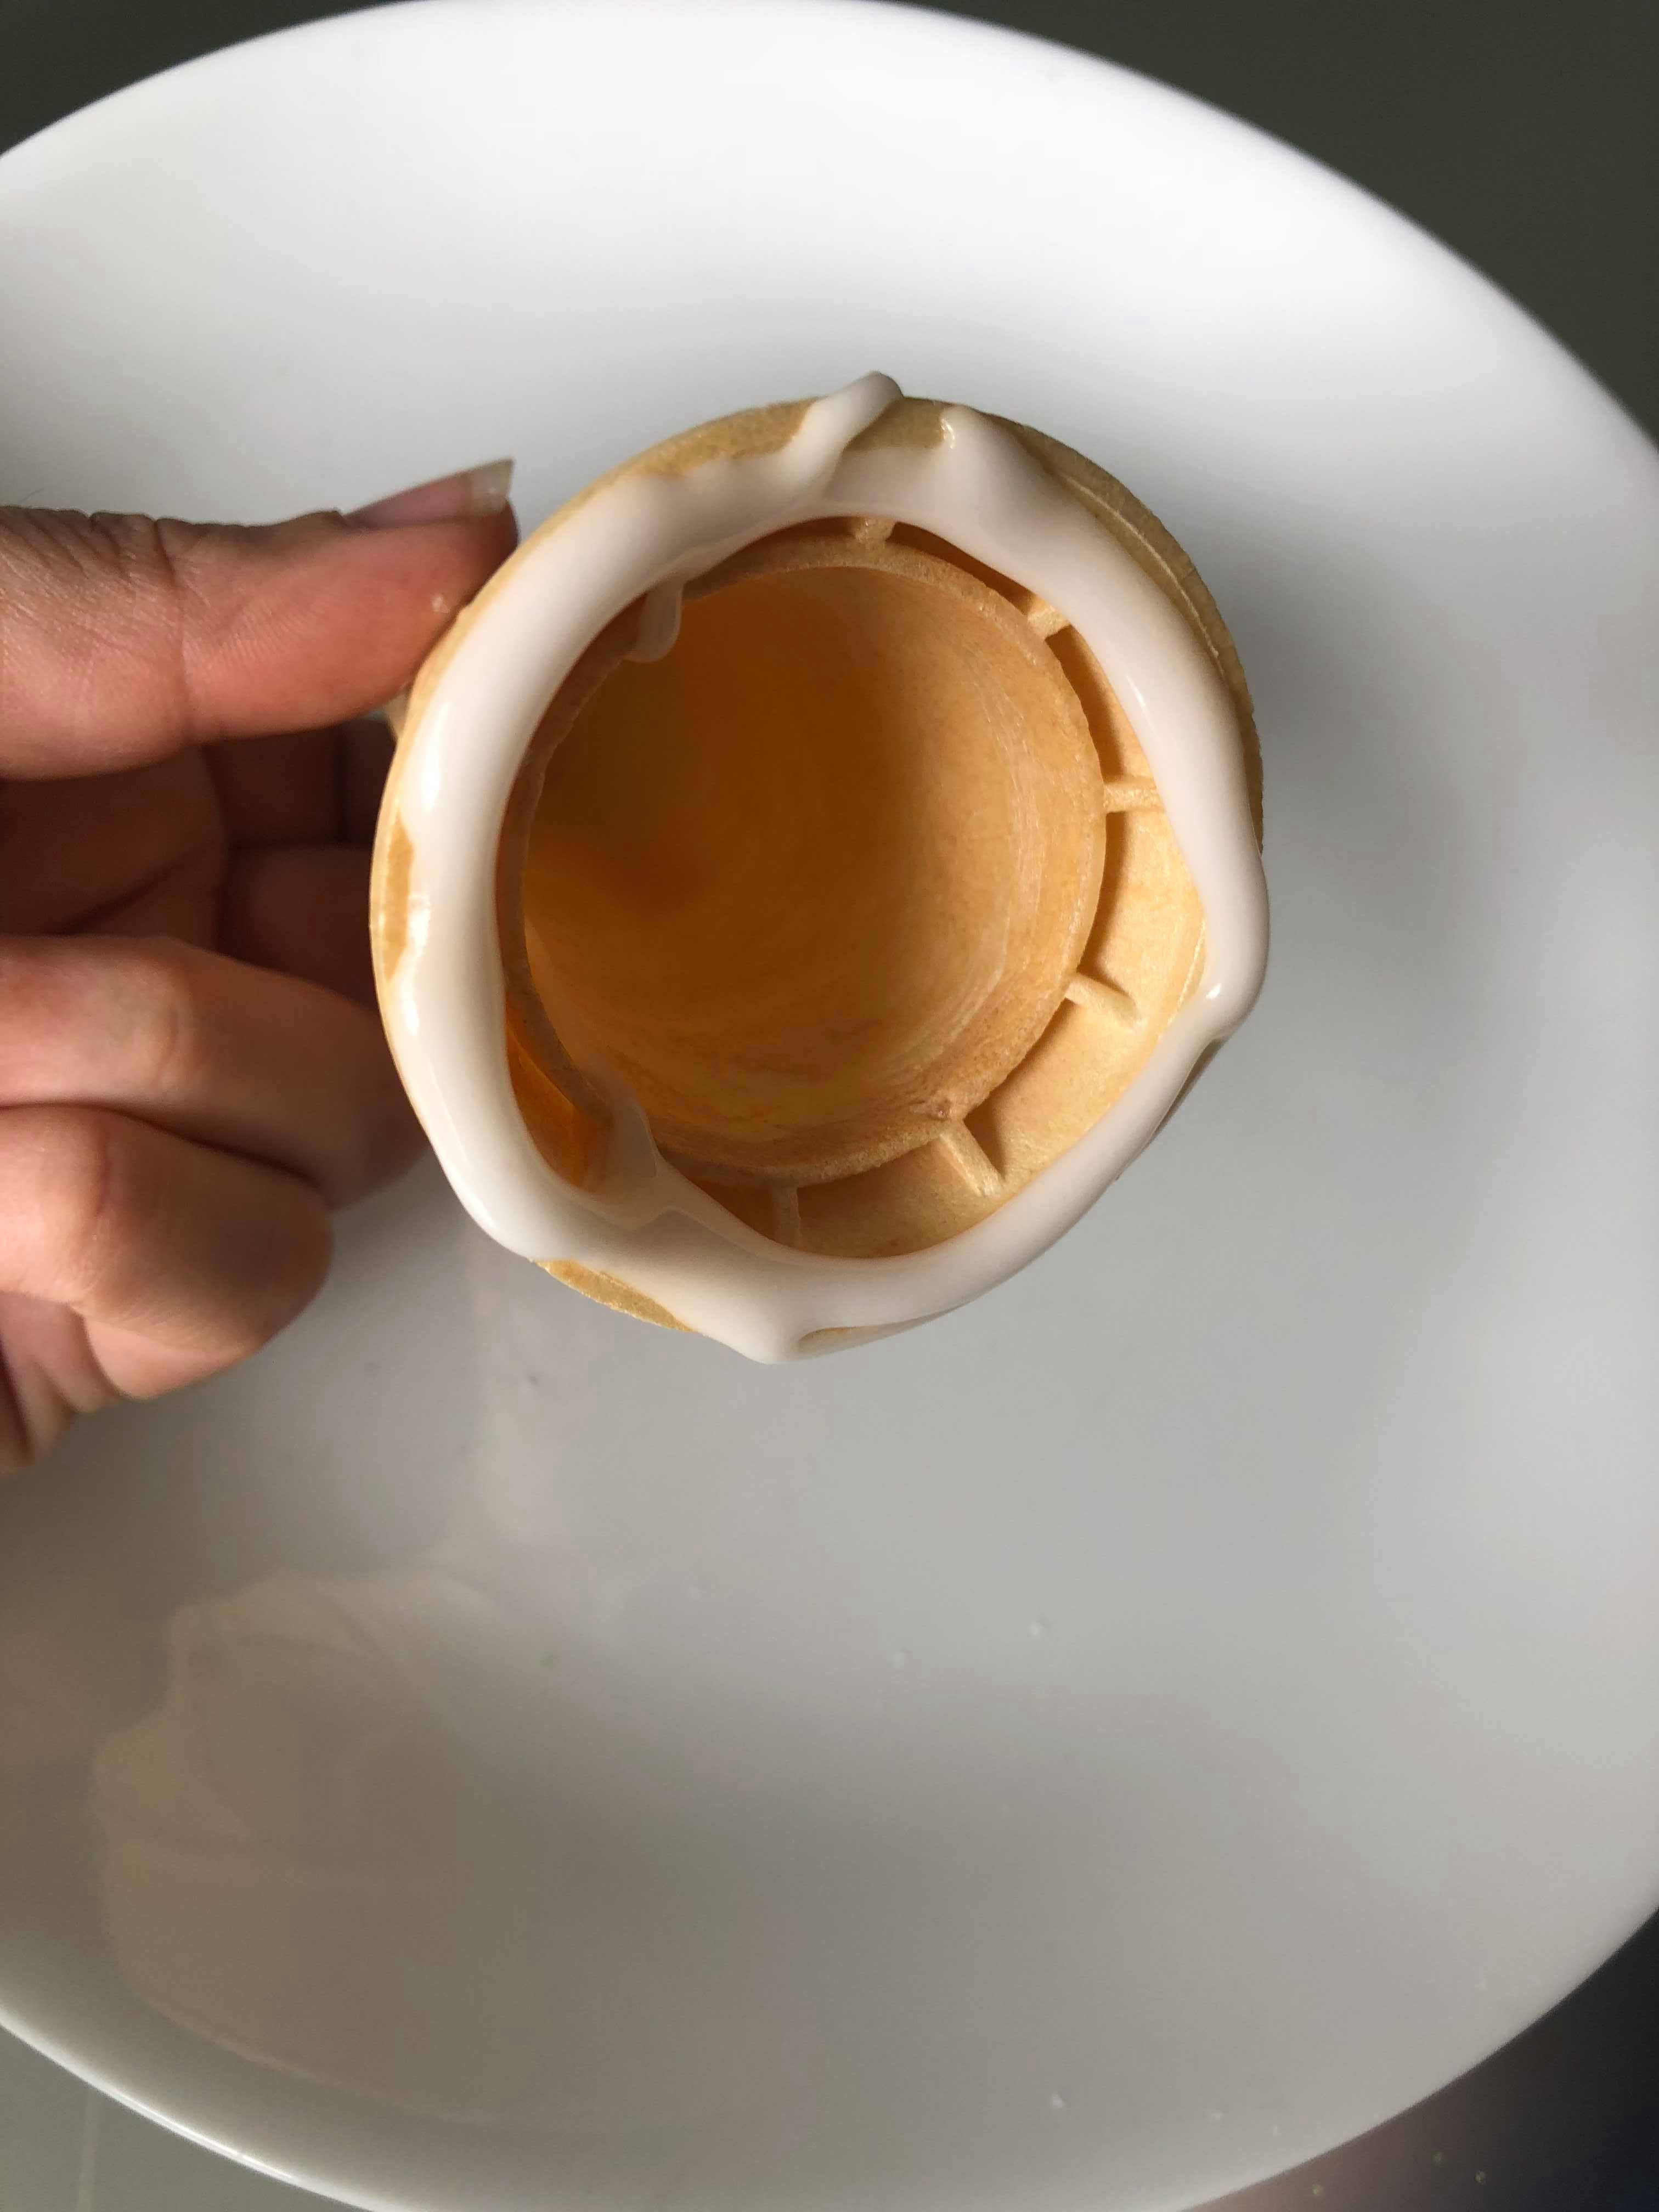
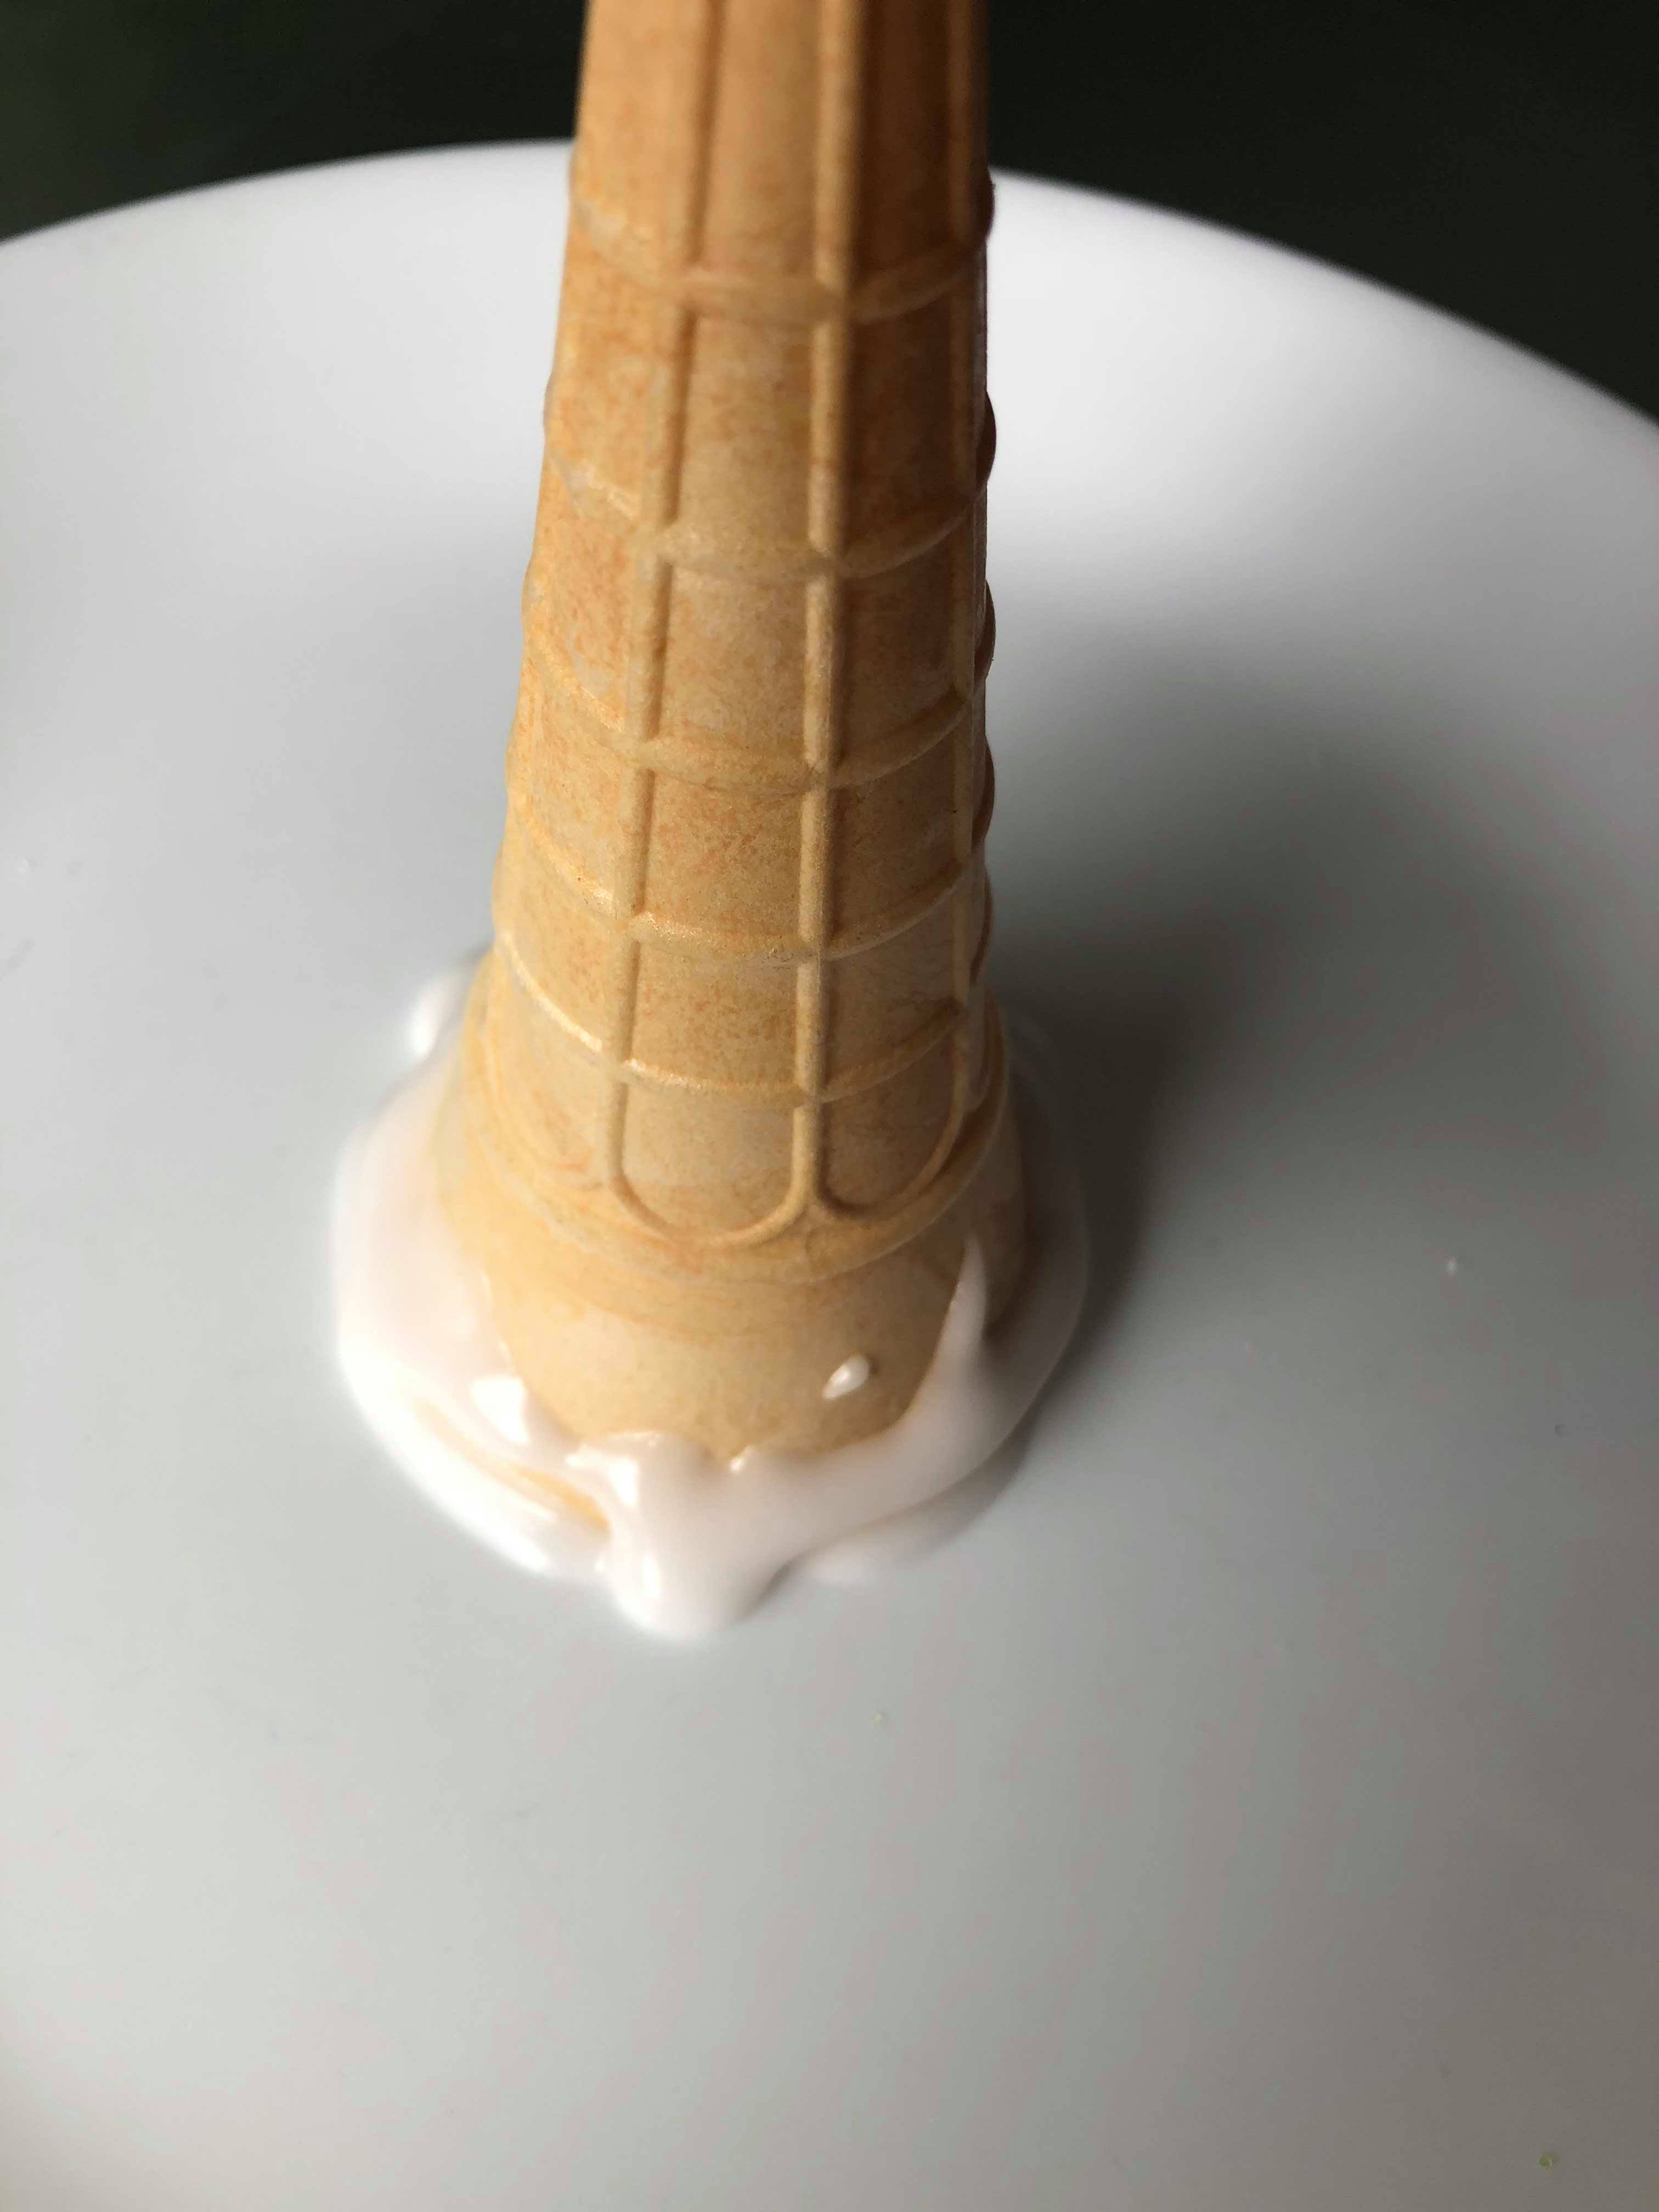
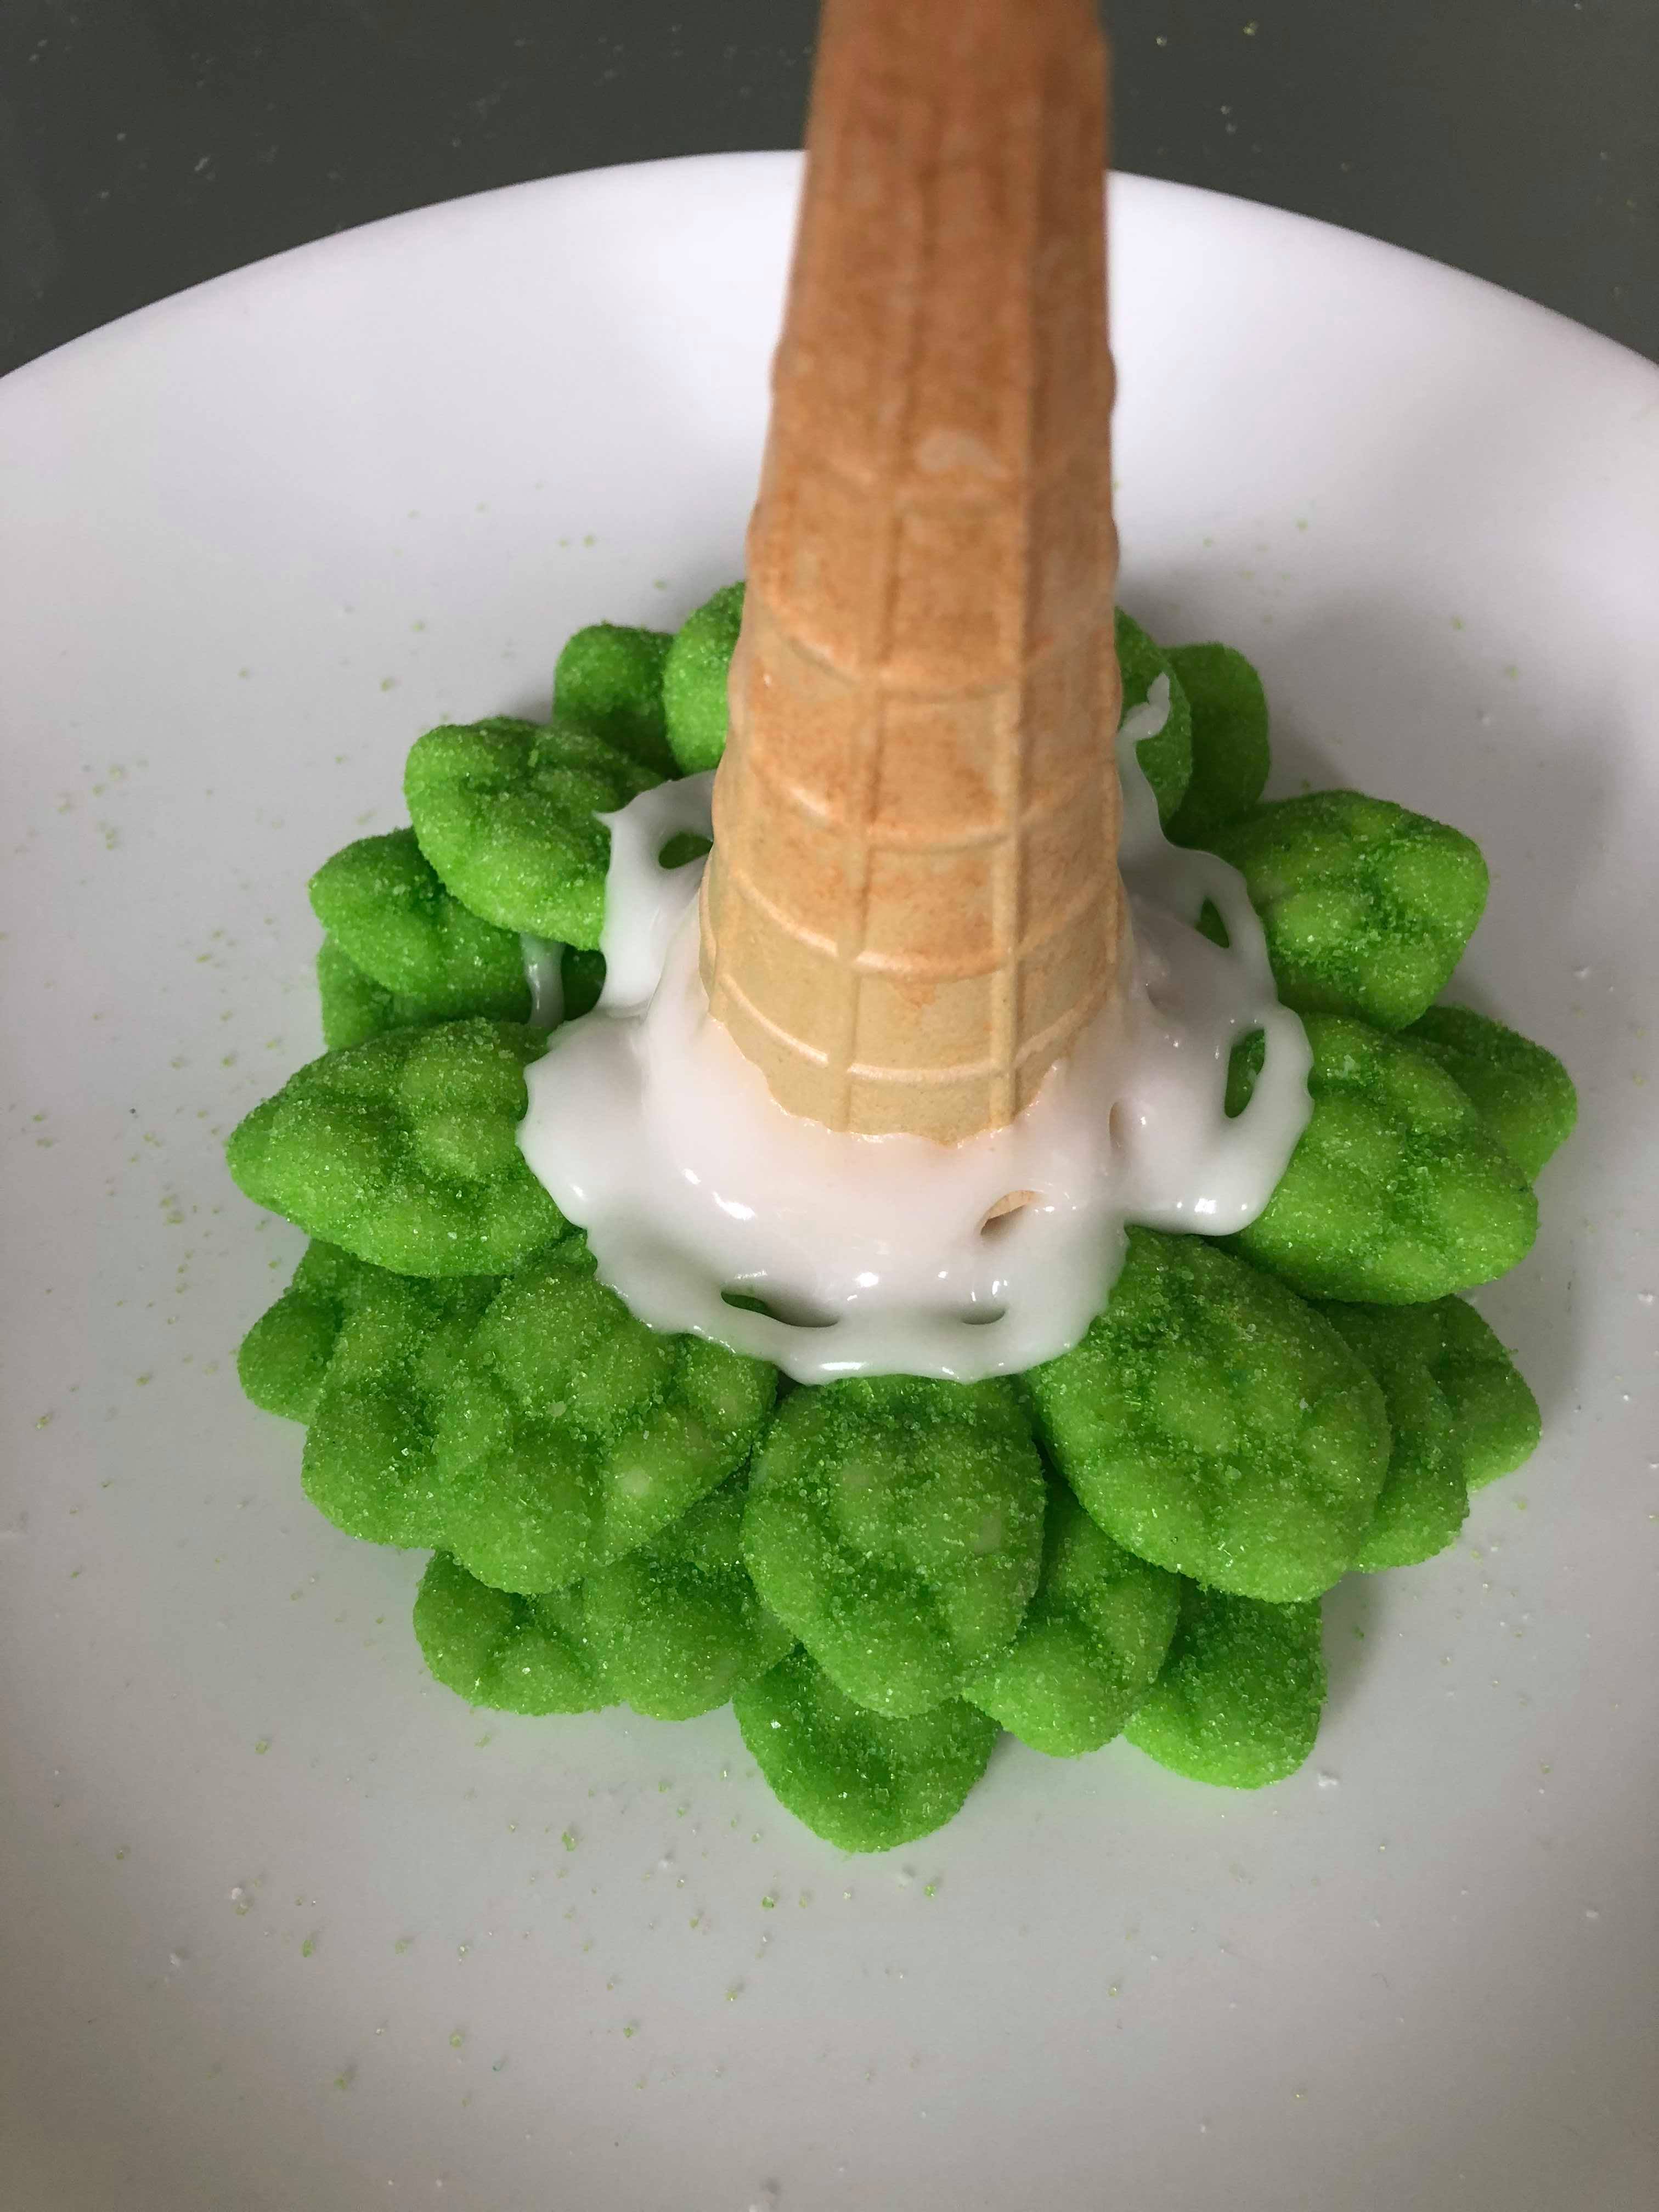
3. Pipe icing sugar around the bottom of the ice cream cone and centre it onto the plate or cake board.
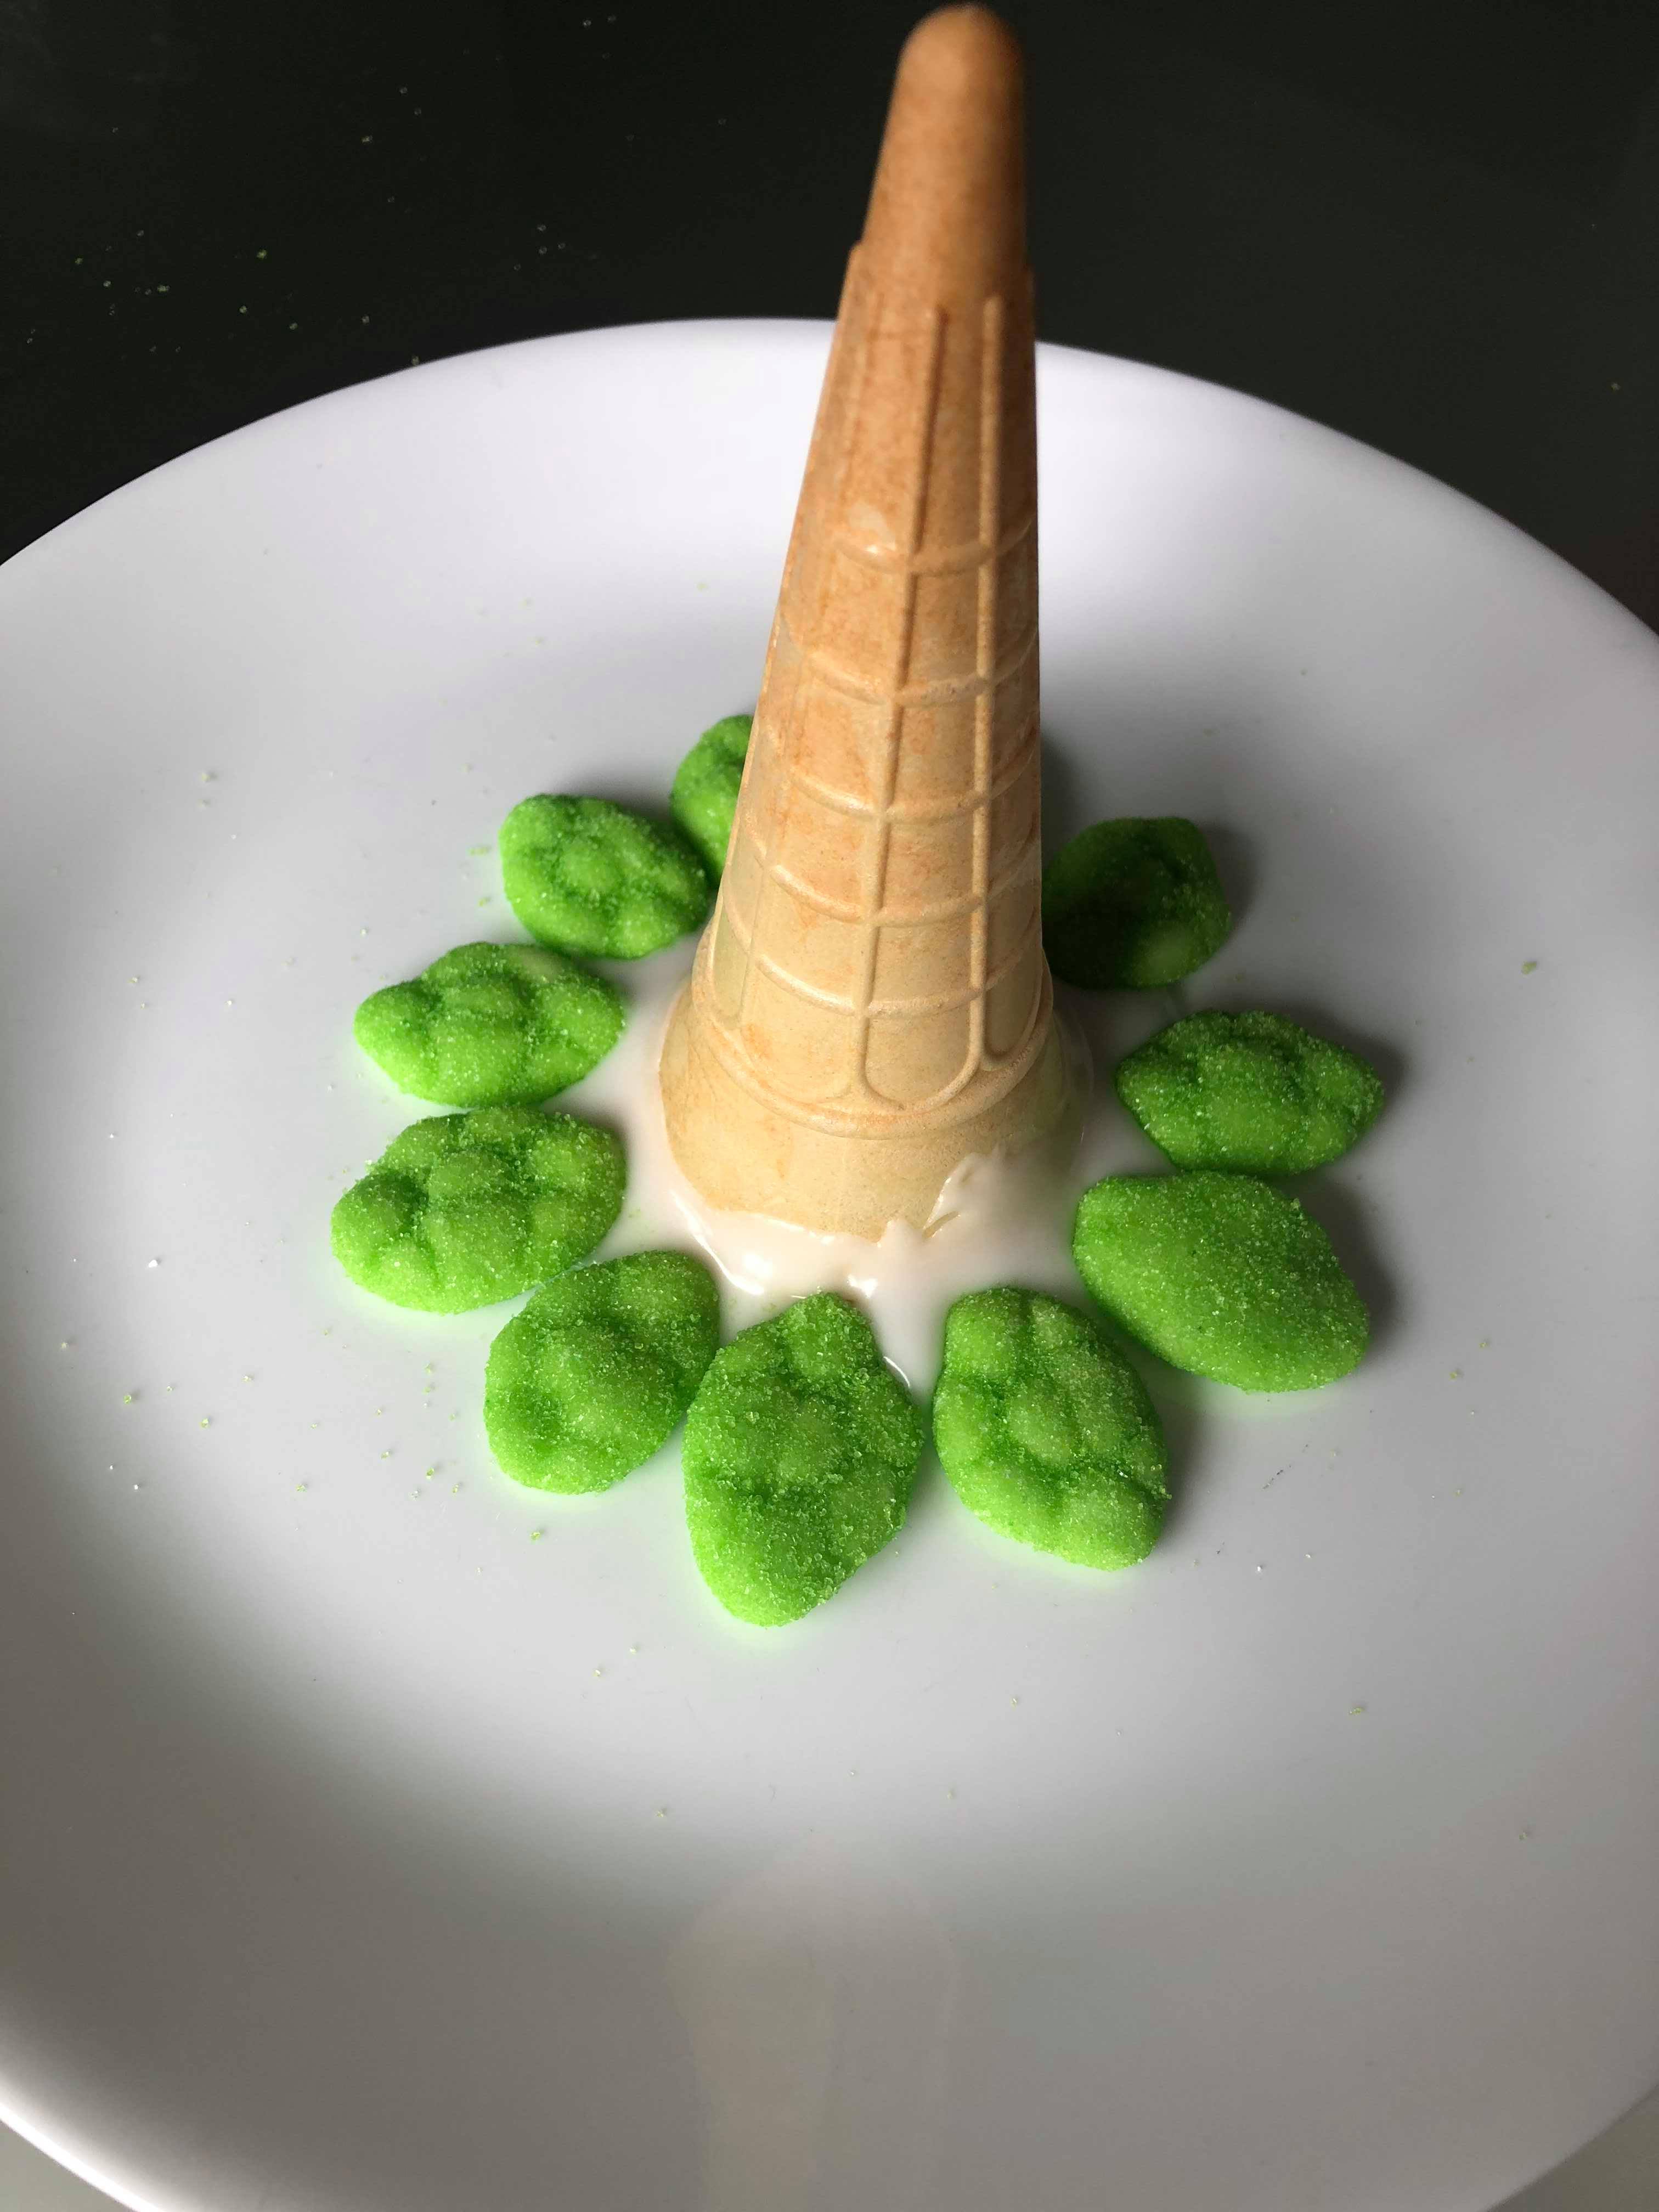
4. Pipe icing sugar around the bottom of the cone and place your first layer of lollies around the cone. Make sure you have enough icing sugar to hold the lollies in place. If the lollies aren’t holding you might need to add more pure icing sugar to your mixture to make it thicker.
5. Pipe another layer of icing above your first layer of lollies and around the ice cream cone and place your second layer of lollies around the cone. It’s good to try and stagger your lollies in the gaps of the first layer to give it more of a ‘tree’ effect.
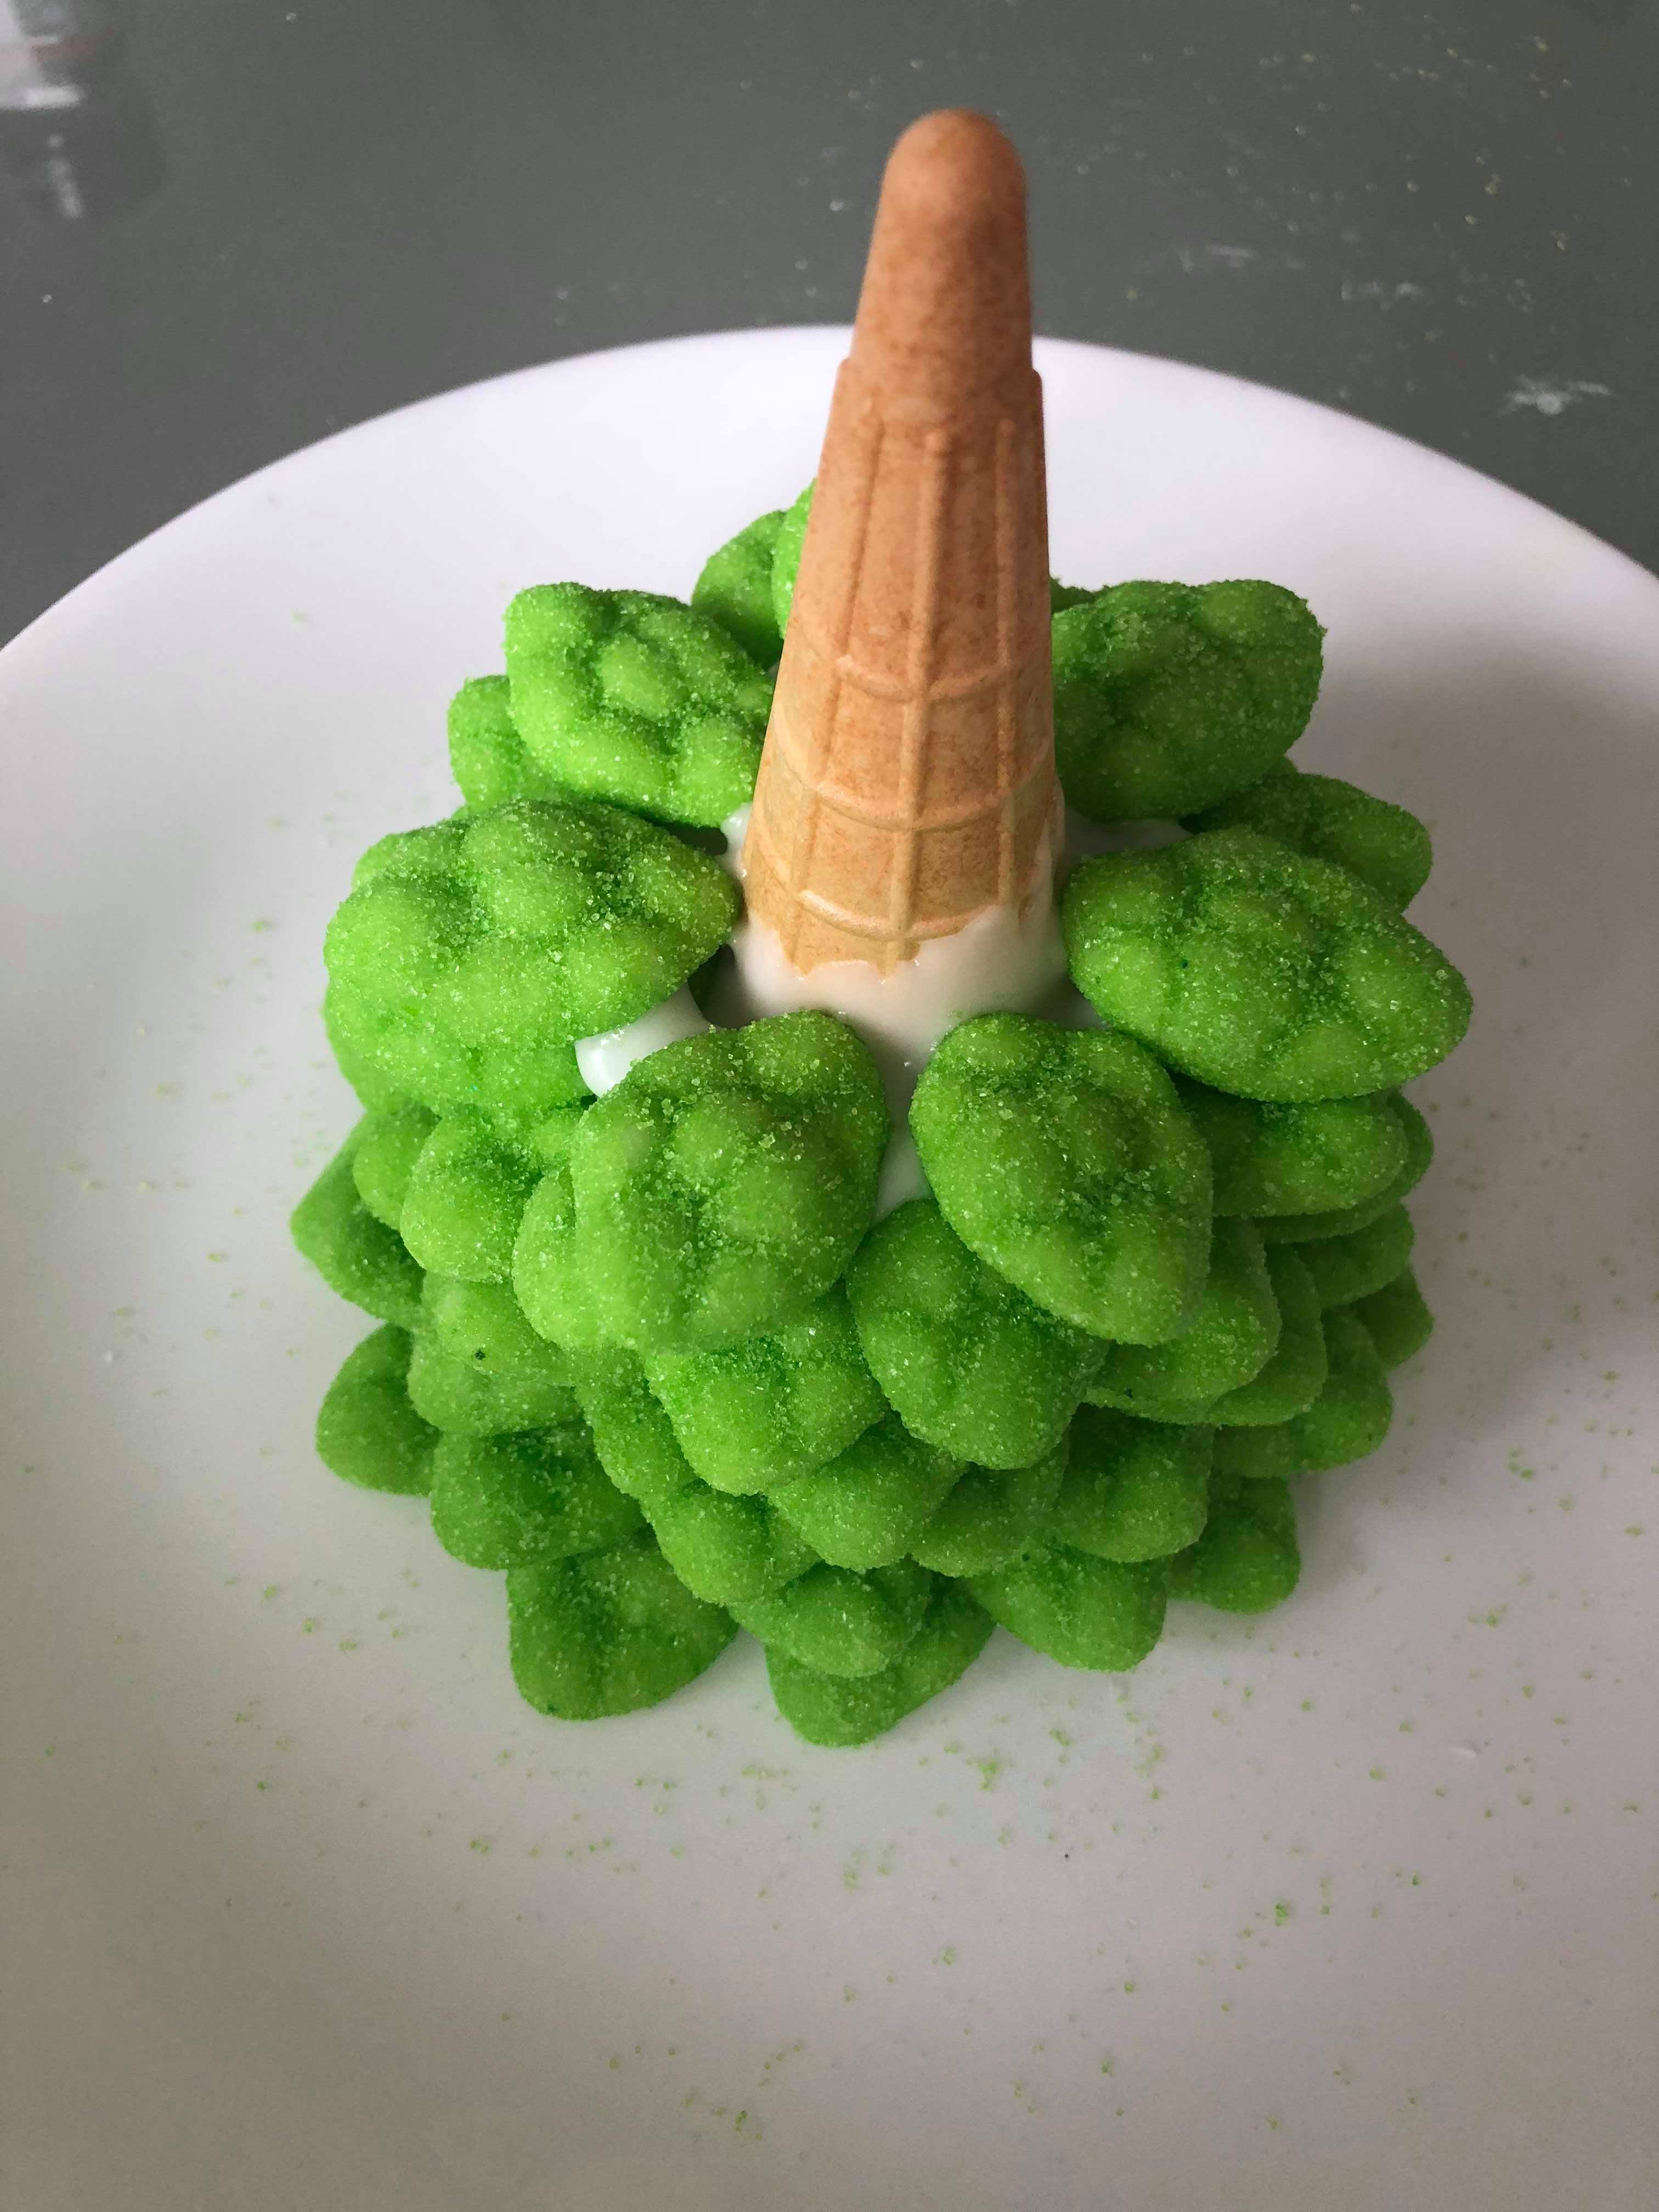
6. Continue the process with icing sugar and lollies until you reach the top of the ice cream cone.
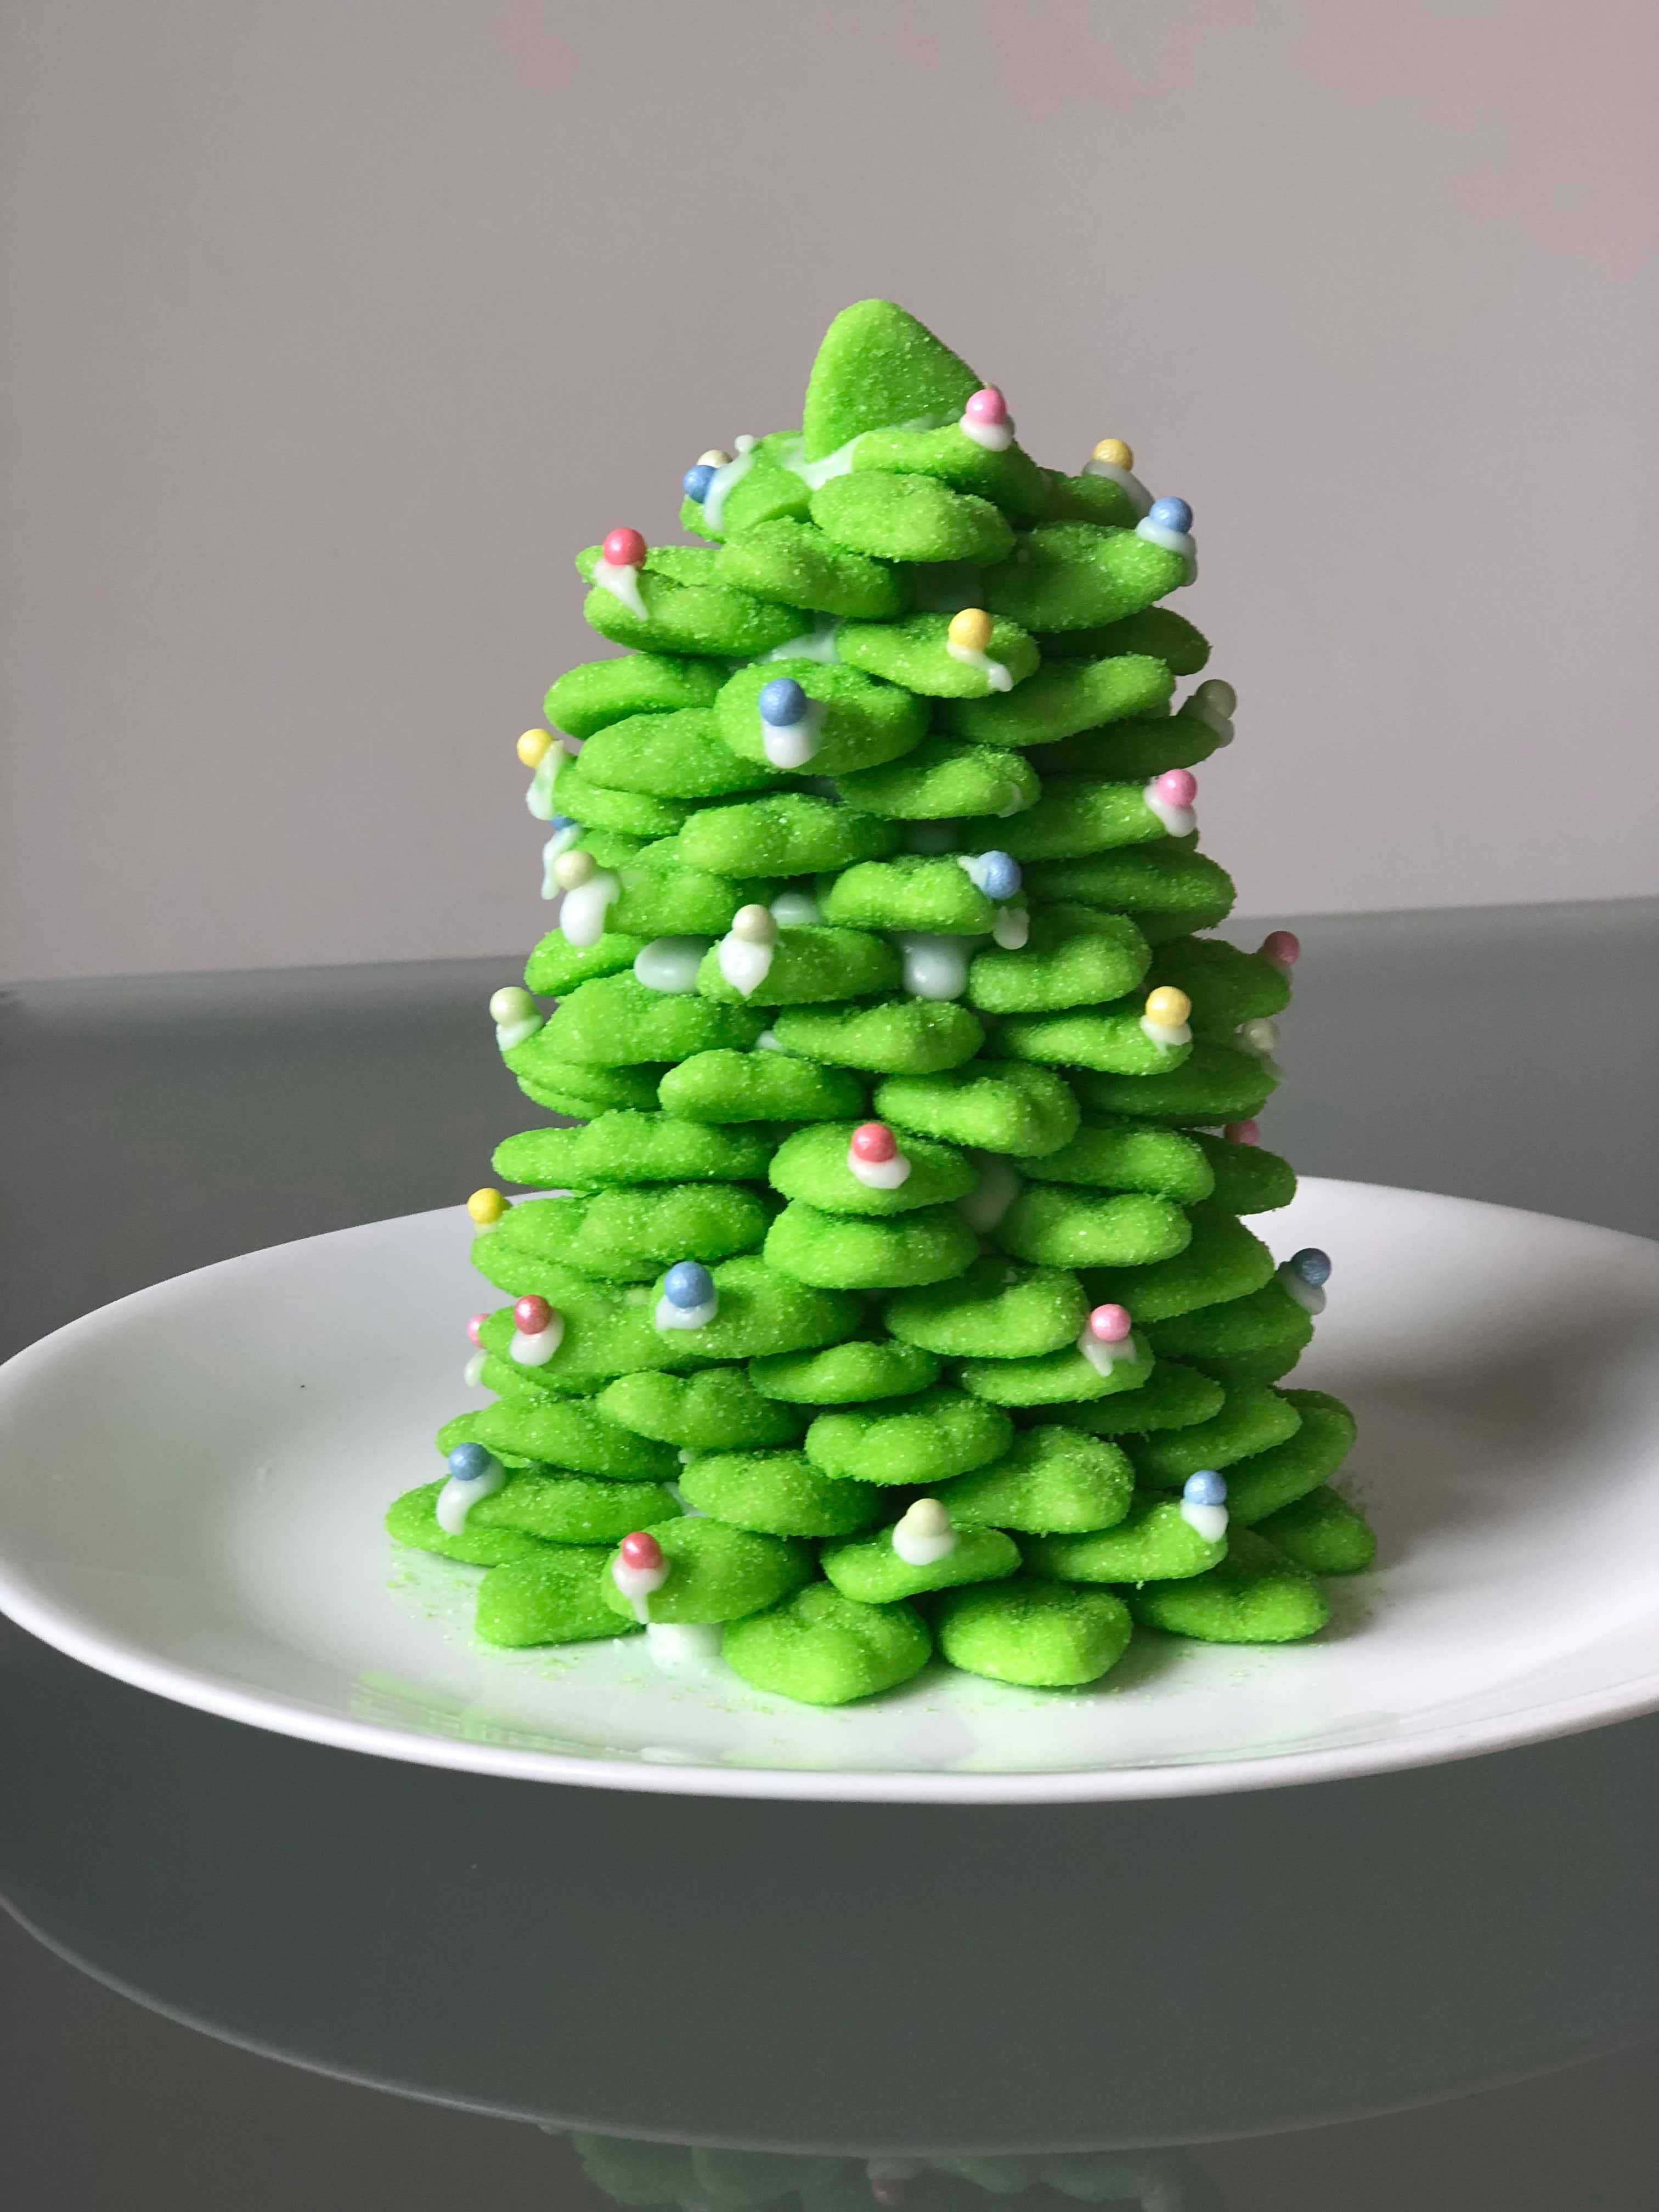
7. Cut 2 lollies in half to finish the top of the tree with the last lolly giving you the point of your Christmas tree.
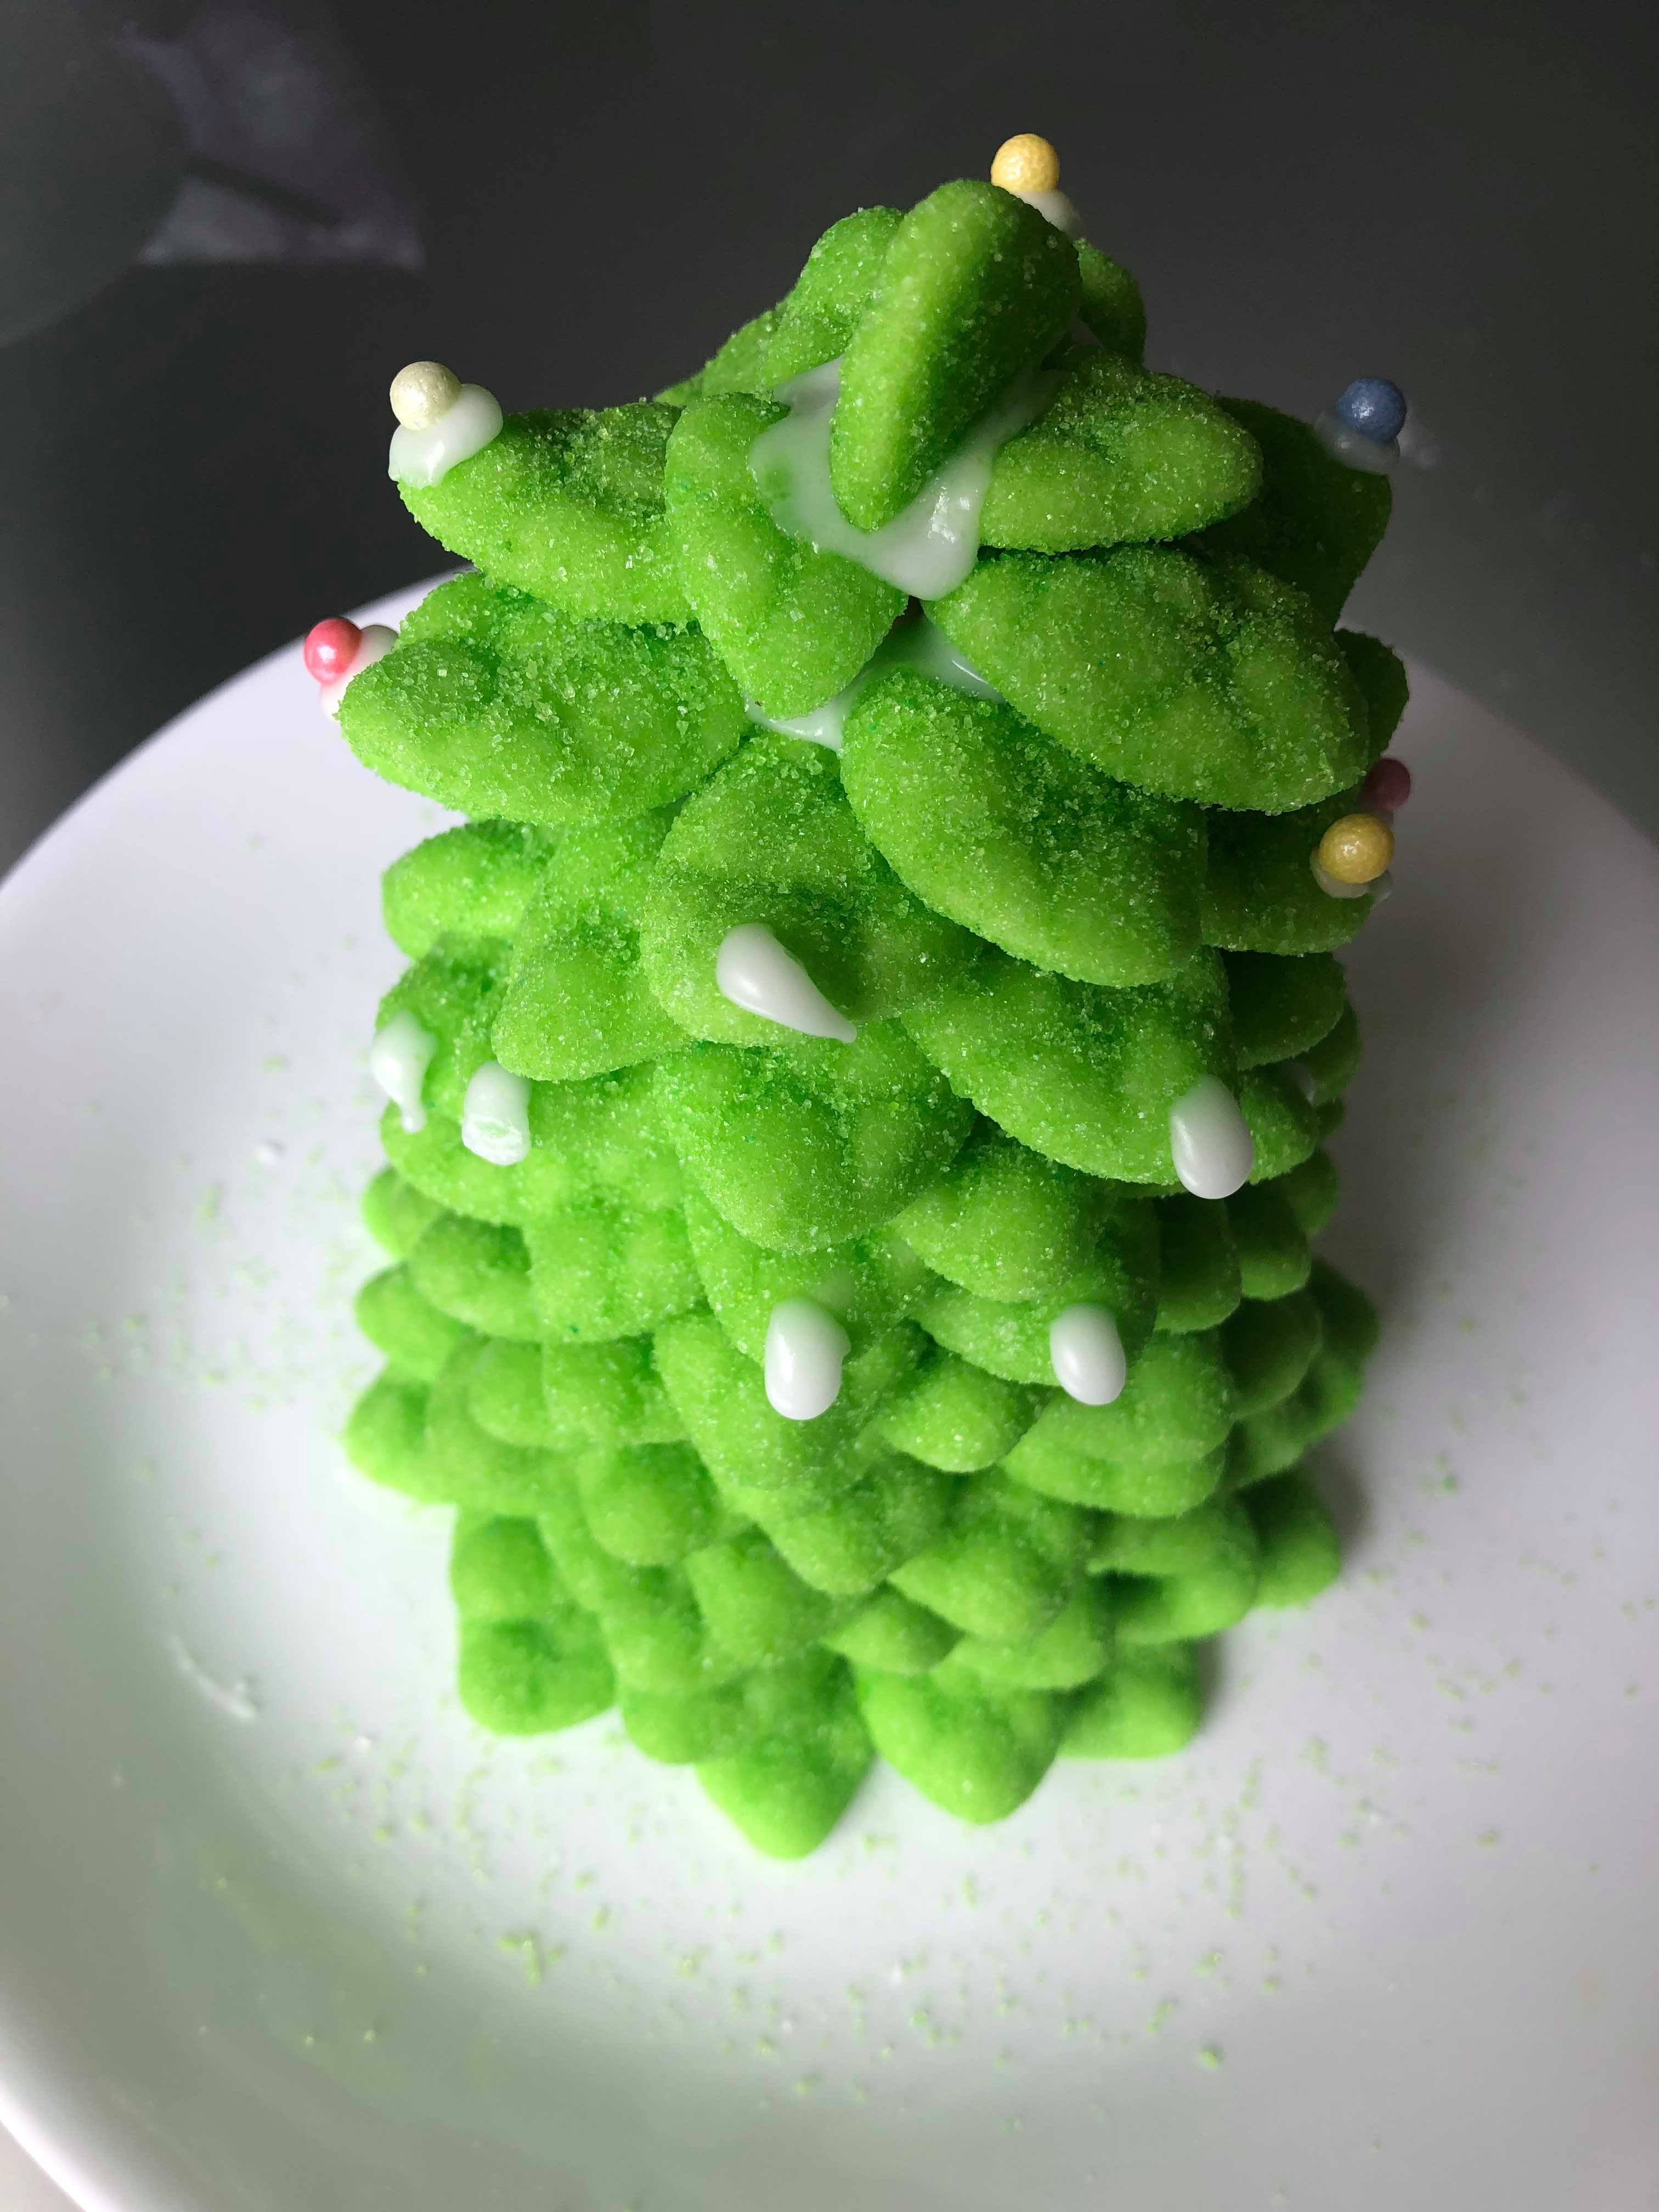
8. Using the icing sugar, pipe small dots on the points of your leaves to stick on your sugar pearls.
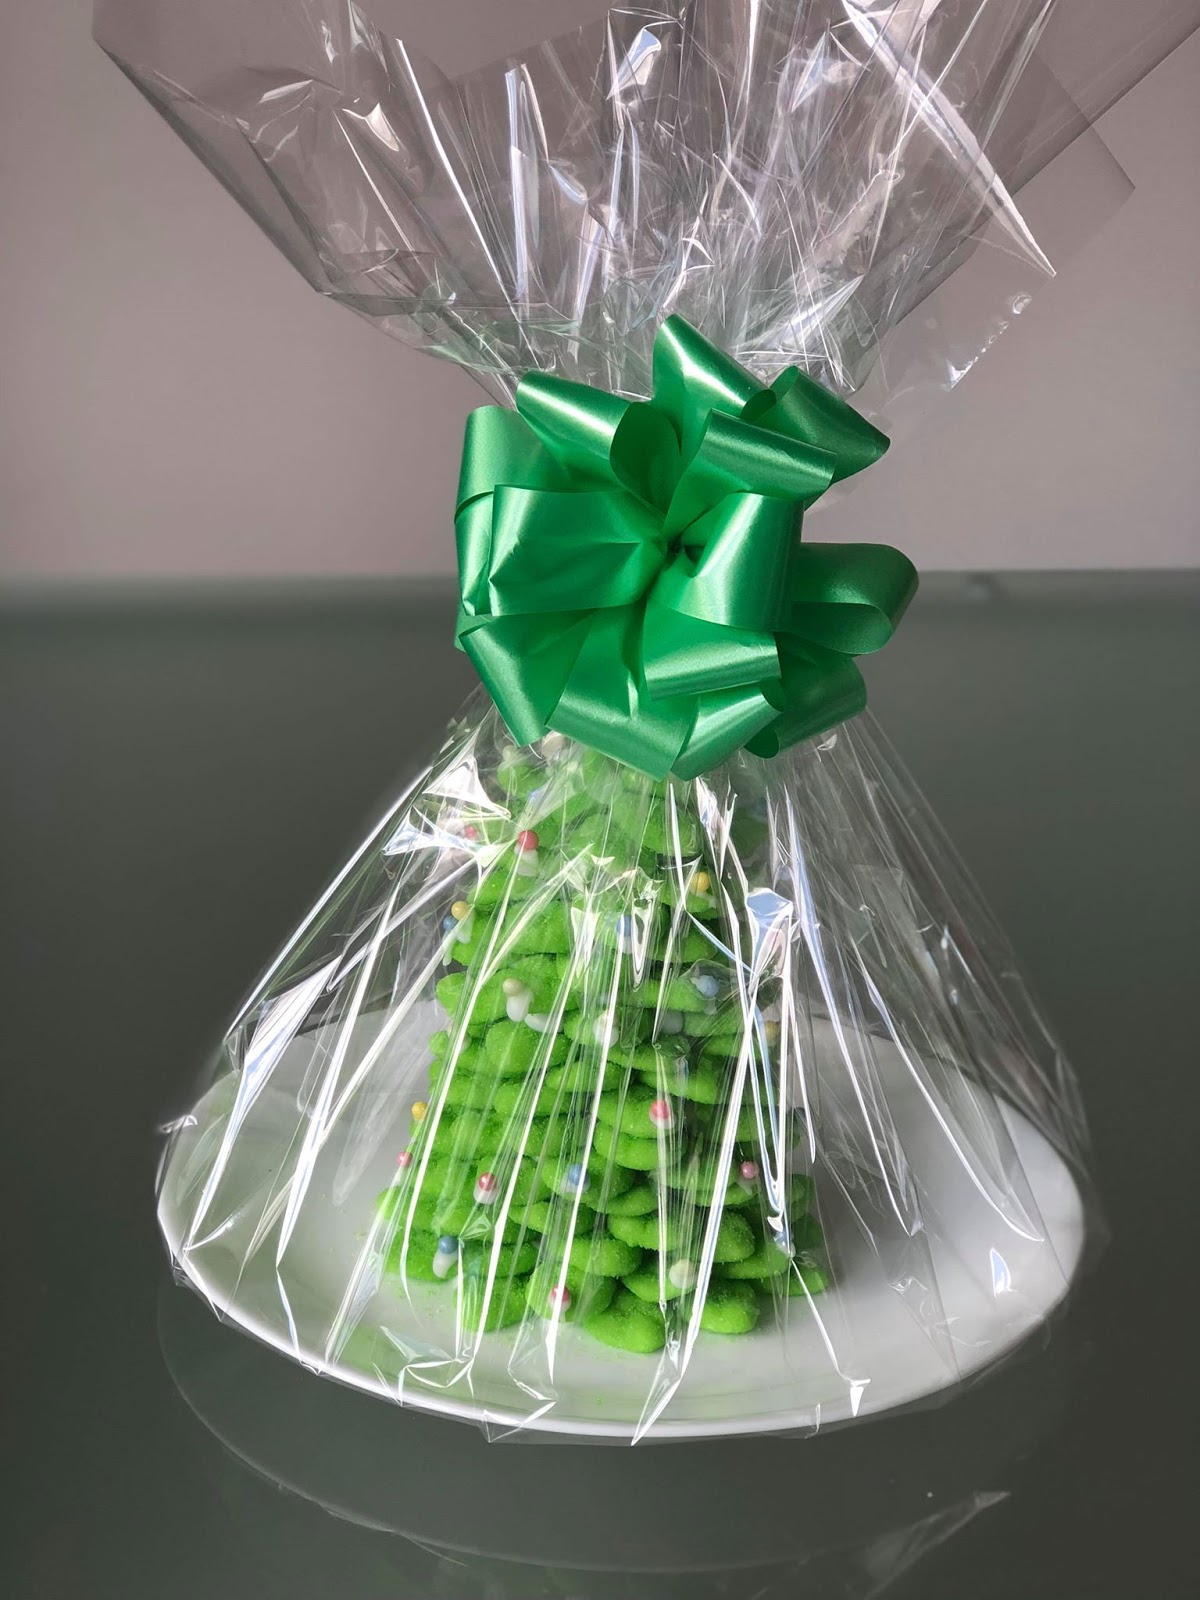
9. Leave it to dry before wrapping in cellophane. Secure cellophane at the top with sticky tape and finish with a ribbon or bow.
Trending Articles

Need Some Help Looking on the Bright Side?
Do you consider yourself someone who looks on the bright side? It's not always easy, but having a positive outlook on life definitely makes life easier. I'm not saying that we should ignore our struggles or pretend that everything is perfect all the time, but having a...

You Can’t Afford to be ‘Active’ When it Comes to Your Money!
Ever imagined sitting on a beach, sipping a drink with an umbrella in it, and not having to stress about heading back to work? I know I have. This seems like an impossible dream, but it’s a reality for many people (and not just those born with splashy trust funds!)....

Take a MOMENT
With wellness becoming a greater focus in our lives, we’re constantly looking for fun new ways we can refresh and re-energise. Here are three different wellness techniques you can try.The ears are a surprising source of stress relief because they’re covered in reflex...

Gratitude
Writing in a Gratitude Journal each day can help increase your overall wellbeing and happiness. Use your journal to refocus on the multitude of positives in your life and create a wonderful treasure to reflect on as you navigate life. I have often looked back upon my...

Do you have a love-hate relationship with exercise?
Exercise can bring up a lot of funky feelings. You may be self–conscious about your athletic skills, that was me. Or you may be stuck in this story where you think you hate exercising. You might think exercise is something you “have” to do. Or maybe you think that if...

Are You a Tired Momma?
It's such an important part of our lives, but how much thought have you given to what goes into getting a good night's sleep? It wasn't until I became a sleep-deprived mom that I truly appreciated the importance of sleep (for myself and my daughter). Not only is it...
Love our vibe?
Learn about becoming a part of our tribe of Mumpreneurs…